5 Repairs That Add a Year to Activewear You Already Own
Quick Answer: The five repairs worth learning are a popped seam restitch, drawstring replacement, de-pilling, waistband elastic replacement, and small hole repair with a stretch patch. Each takes 10 to 45 minutes, costs under a few dollars, and addresses one of the failures that account for most activewear retirement. None requires a sewing machine except the elastic replacement, which is easier with one.
The fabric almost always outlives the failure point, which is exactly what makes repair worth the time here.
Repair 1: The popped seam
The most common failure and the easiest fix, and the one most likely to be misread as the garment being finished.
What happens: activewear seams are usually overlocked or coverstitched with a chain of interlocking loops. When one loop breaks under stress, the chain can unravel along a section. It looks catastrophic - suddenly there is a two-inch gap - and it is usually a five-minute repair.
What you need: a needle, polyester thread matching the color, and about ten minutes.
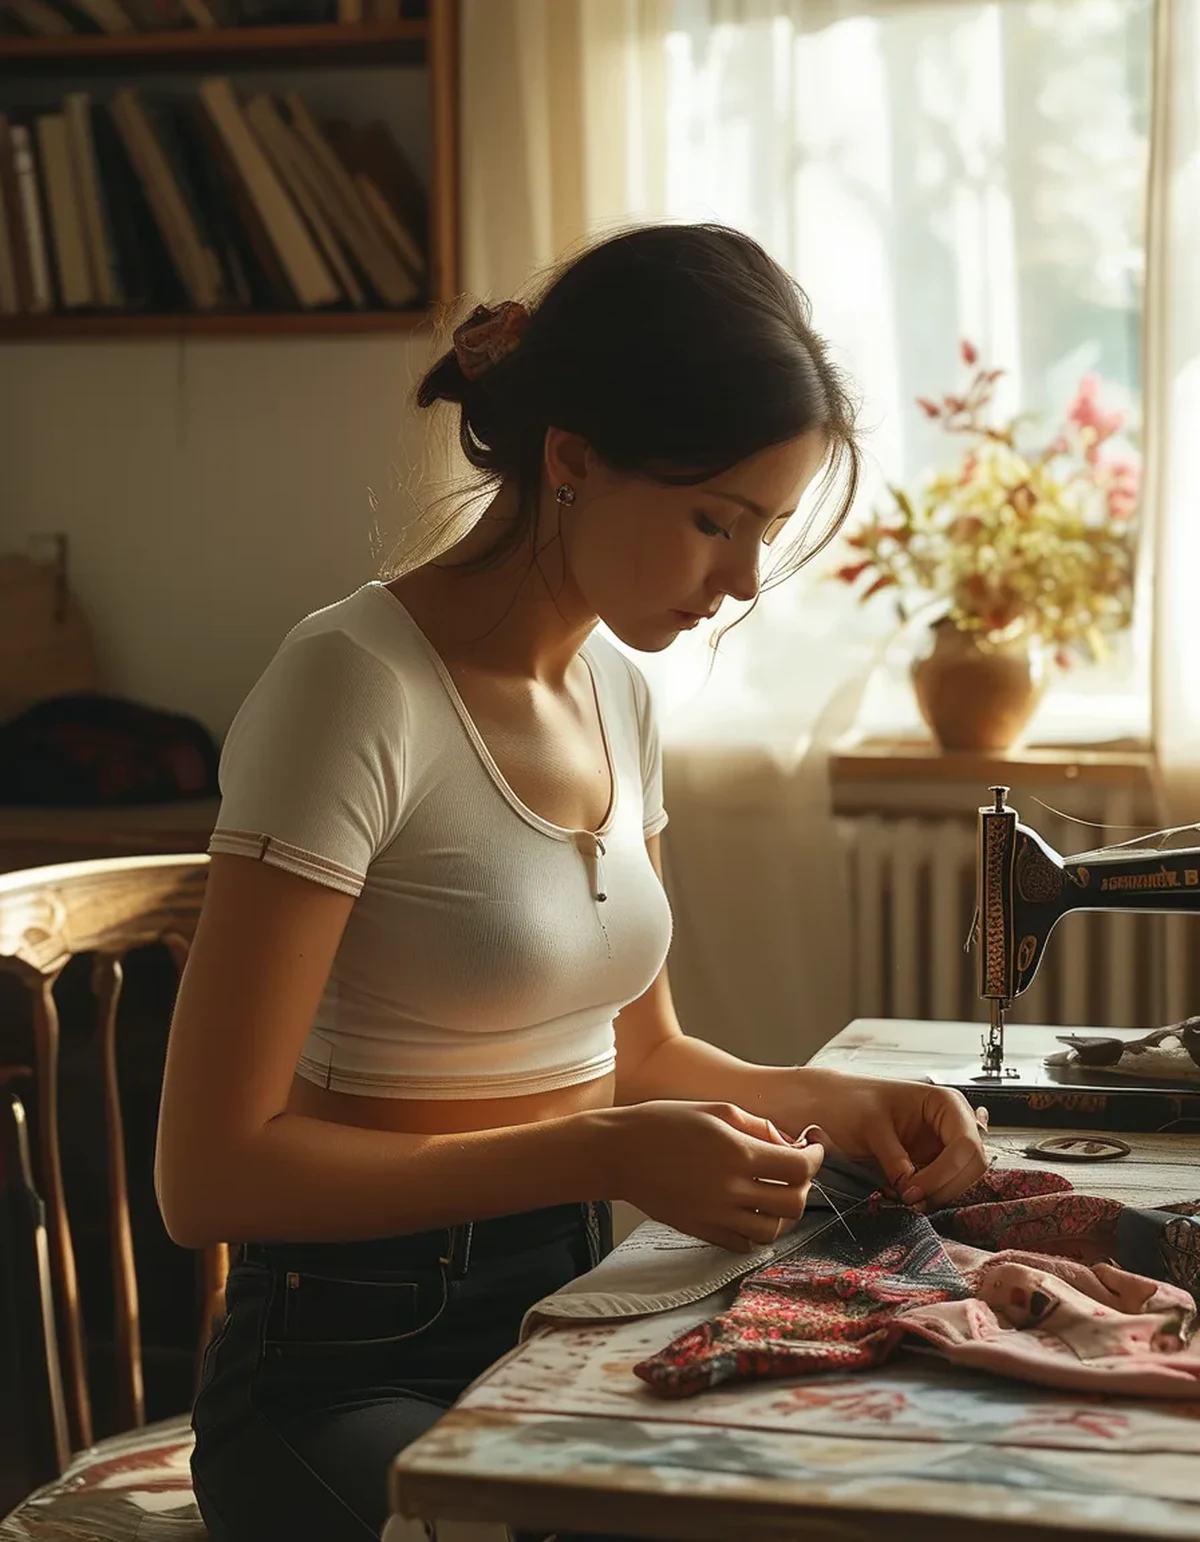
The method: turn the garment inside out. Start stitching about half an inch before the opening, into intact seam, so you anchor into fabric that is not already failing. Use a stretch stitch - the simplest hand version is a narrow zigzag pattern, taking small stitches that alternate slightly side to side rather than in a straight line. Finish half an inch past the opening. Backstitch at both ends.
Why the stretch stitch matters: a straight running stitch has no give. The first time you squat, it pops again in the same place, which is why people conclude the repair does not hold.
Time: 10 minutes. Cost: pennies. This single repair probably saves more activewear than the other four combined.
Repair 2: Replacing a drawstring
A lost drawstring makes a garment feel unusable and is trivially fixable.
What happens: the cord gets pulled fully into the casing in the wash, or frays and breaks. Many people never retrieve it and the piece quietly stops getting worn.
What you need: a safety pin, or a bodkin if you have one, and replacement cord if the original is gone. Flat cord is easier to work with than round.
The method: attach the safety pin to one end of the cord, close it, and feed it into the eyelet. Work the pin through the casing by pinching and pushing, gathering the fabric behind it. Pin the free end of the cord to the garment before you start - the classic error is losing the second end into the casing halfway through.
For a cord that is merely stuck inside: the same technique works, but you have to find the end first. Bunch the waistband and squeeze along it until you feel the cord end, then work it back toward the eyelet.
Preventing it: tie a loose knot at each end of the cord, or a small stitch through the cord at the eyelet, so it cannot fully retract.
Time: 10 to 15 minutes. Cost: under two dollars for cord.
Repair 3: De-pilling
Not technically a repair, but it is the reason a large amount of otherwise sound activewear stops being worn.
What happens: pills form where fabric rubs against itself or against another surface - inner thighs, under a backpack, behind the knee. Loose fibers work to the surface, tangle, and ball up. It is a cosmetic failure of a structurally fine garment.
What you need: a fabric shaver (a battery one costs very little) or a sweater comb. Not scissors - cutting pills individually usually catches the base fabric and creates a hole.
The method: lay the garment flat on a hard surface, pulled smooth but not stretched. Work the shaver in short passes in one direction. Do not stretch the fabric while shaving - stretched fabric lets the blade reach the base knit, which is how you shave a hole into a legging.
Go slowly around seams and over any printed areas.
Preventing more: pilling is friction-driven. Washing inside out, using a mesh bag, avoiding the dryer, and not washing activewear with towels or denim all reduce it substantially. Fabric softener makes it worse by coating and loosening fibers.
Time: 15 to 20 minutes for a pair of leggings. Cost: one-time, around the price of a coffee.

Repair 4: Replacing a dead waistband elastic
The one that takes the longest and rescues the most expensive garments.
What happens: the internal elastic loses recovery and the waistband no longer grips, while the fabric itself is fine. Very common on garments two or three years old, and it is the classic reason a favorite pair gets retired.
What you need: replacement elastic of the same width, a seam ripper, a safety pin, and ideally a sewing machine with a stretch stitch.
The method: find the seam in the waistband casing and open a two-inch section with the seam ripper - on the inside, at the back, where any repair will be least visible. Cut the old elastic and pull it out, measuring it first so you know the length. Cut new elastic to that length, or to your waist measurement minus about 10 percent if the old one had already stretched. Feed it through with a safety pin, overlap the ends by an inch and stitch them securely, then close the casing.
The tricky part: on many activewear waistbands the elastic is stitched to the fabric rather than free-floating in a casing, which makes replacement much harder. Check this first by pinching the band and seeing whether the elastic slides independently. If it does not, this repair is not practical at home.
Time: 30 to 45 minutes. Cost: a few dollars.
Repair 5: Small holes and thin spots
The repair that prevents a small problem from becoming a terminal one.
What happens: a snag, a catch on velcro or a zip, or thinning from abrasion. Small holes in stretch fabric grow quickly under tension - a quarter-inch hole becomes a two-inch tear in a few wears.
What you need: stretch fusible interfacing or a self-adhesive stretch repair patch, and an iron.
The method: turn inside out. Cut a patch at least half an inch larger than the hole in every direction, with rounded corners - square corners lift and peel. Bring the edges of the hole together without overlapping them. Place the patch on the inside and press with an iron at a low to medium setting with a pressing cloth. Activewear fabrics are largely synthetic and will melt at cotton settings, so start cool and test on a hidden area.
For a visible hole where appearance matters: a small darn with matching thread over the patch, using the zigzag approach from Repair 1.
For thin, worn areas that are not yet holes: the same patch applied preventively works well and is far easier than repairing after the fact. Inner thighs are the usual candidate.
Time: 10 minutes. Cost: a few dollars for a pack of patches that will last years.
FAQ: Activewear Repair Questions, Answered
Is it worth repairing inexpensive activewear?
Often yes, on time alone - a ten-minute seam repair versus shopping for and buying a replacement. The environmental case is stronger still, since extending a garment’s life is the single most effective thing an individual can do to reduce clothing’s footprint.
Will a repair hold through washing?
A stretch-stitched seam repair holds indefinitely. Fusible patches typically last 20 to 40 washes and can be reapplied. Wash repaired items inside out on cold to extend both.
What is genuinely not worth repairing?
Fabric that has gone translucent or lost its recovery across a whole panel - that is the material itself at end of life, not a failure point. Same with widespread thinning. At that stage, textile recycling is the right destination rather than repair or donation.
TL;DR:
- A popped seam is a ten-minute hand repair - anchor half an inch into intact seam and use a stretch stitch, never a straight one.
- Drawstrings go back in with a safety pin; pin the free end first so you do not lose it into the casing.
- De-pill with a fabric shaver on flat, unstretched fabric - stretching it is how you shave a hole.
- Waistband elastic replacement rescues expensive pieces, but only if the elastic floats free in a casing rather than being stitched down.
- Patch small holes from the inside with rounded corners and a low iron setting - synthetics melt at cotton temperatures.
Extending what you own is the highest-impact sustainability move available, and four of these five need nothing more than a needle.
See It in Motion
Seen here: Super High Waist Embossed Yoga Leggings with Inner Pocket — shop it on bubblelime.com
Keep Reading
This article is for general informational and styling purposes only. Fit, sizing, and product availability may vary.